First things first - without any layout fluid, I had to get creative with the markings on the tube. I tried scratching a mark in the side of the tube first, but it ended up crooked and very difficult to see. So I formulated a Cunning Plan (watching too much Blackadder will do that). I wrapped some masking tape around the cut end, as such:

I used the hobby knife to cut away the tape up to the location of the cut on the tube. To get it even, I held the knife against the square, blade up, and rotated the tube while holding flush against the short end of the square. It worked pretty well, but there was a small section of tape that I didn't get all the way through.
I will back up quickly here to discuss butted tubing. The steerer, like most of the rest of the frame, is made of tubing that has a thicker wall section at the ends than in the middle. This allows for a lighter overall weight while beefing up the tubing at the points of highest stress, the joints. Tubing for the main triangle of the frame usually has one end with a longer butt than the other and is marked with paint or some other indication; this is the end you want to cut. Completely removing the butt will greatly impact the strength of the frame.
In the case of the steerer, only the non-threaded end is butted (if you're using a threaded headset). The threads should not be cut at this point, but Talbot implies that end of the steerer may be trimmed later if some of the threads stick out of the headset after assembling the fork to the frame. Before cutting the tube, I measured the butt length - it's easily noticeable by looking inside the tube, and I used the depth gauge on the digital calipers to feel around for the taper. It's about 50 mm long, and I needed to remove about 30 mm of length, so everything was a go for cutting. (Threaded steerer tubes come in various lengths, and the one closest to your design should be chosen. Obviously, choosing one that is shorter than you need is going to cause some heartache later down the road.)
After removing the excess tape, I clamped the tube into my mobile workbench:

I used a 12" hacksaw with a 24 TPI (teeth per inch) blade to cut the tube. Because the saw blade is a little flimsy (and I have already proven to myself how good I am at making straight cuts), I began about 1/8" beyond the tape, with plans to use the files to finish up. I restarted the cut several times by rotating the tube about a quarter turn and fitting the blade back in to the end of the previous cut.
Here is the tube after using the hacksaw:

The hacksaw bucked a couple of times and tore the tape, which is probably why machinists do not use tape to mark cuts. Nevertheless, I pulled out the flat mill file and got to work. The file also took out some of the tape. However, progress is so slow using the file that there was plenty of time to stop and examine my work to prevent removing too much material.
I started bumping up against the limitations of my workbench while using the file. The bench is so lightweight that any lateral force (such as pushing the file across the face of the steerer tube) has a tendency to push the workbench around. I may look in to sandbags to brace the workbench.
After filing, here's what the end of the tube looked like:
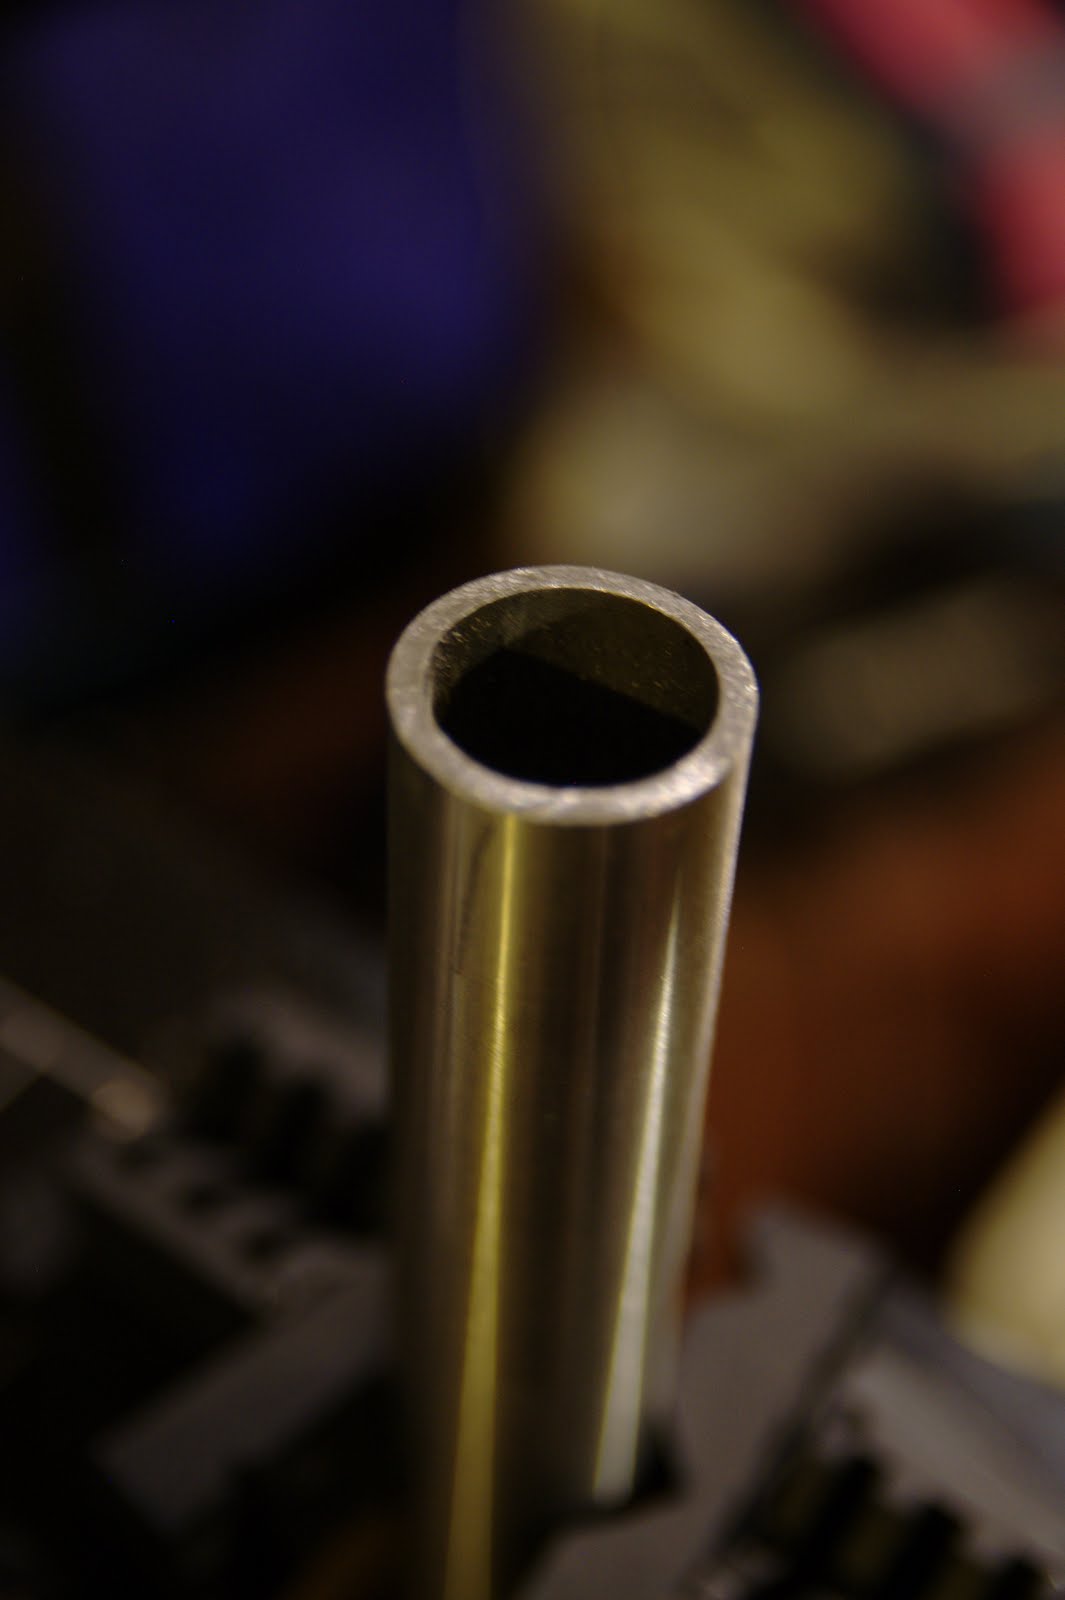
Overall, I think it's a pretty good job. The end of the tube is not perfectly faced off - there's about a 1 mm variance - but the joint is made along the length of the tube, not at the end. If I had a crown that allowed the steerer to slide all the way through it, I could stick the end out and file it flat to the crown after the joint is made; as it is, my crown has small stops that prevent the tube from going all the way through.
After filing was completed, I took some fine grain emory cloth and cleaned up the inside, outside, and the end of the tube. This removed the small nicks from the hacksaw and prepared the tube for brazing - a smooth face provides the best joint.
All that's left is to clean the tube with a solvent and fire up the torch!
No comments:
Post a Comment