I finished the second fork blade (finally!), carefully photographed the whole thing, and now I present the process in all of its horrifying detail. The second blade took significantly less time than the first; I think I spent about 3 hours slotting the blade, followed by another hour or more of cleanup work after the joint was brazed.
Before beginning any work, I painted the tip of the blade with Dykem and marked the orientation and depth of the cut. The cut should be in plane with the bend in the fork blade, which should also align with the long axis of the oval section of the blade. If you are using straight, round fork blades, orientation is less important, since you can simply rotate the blades to any orientation you wish. Here are the "virgin" parts, minus those markings:

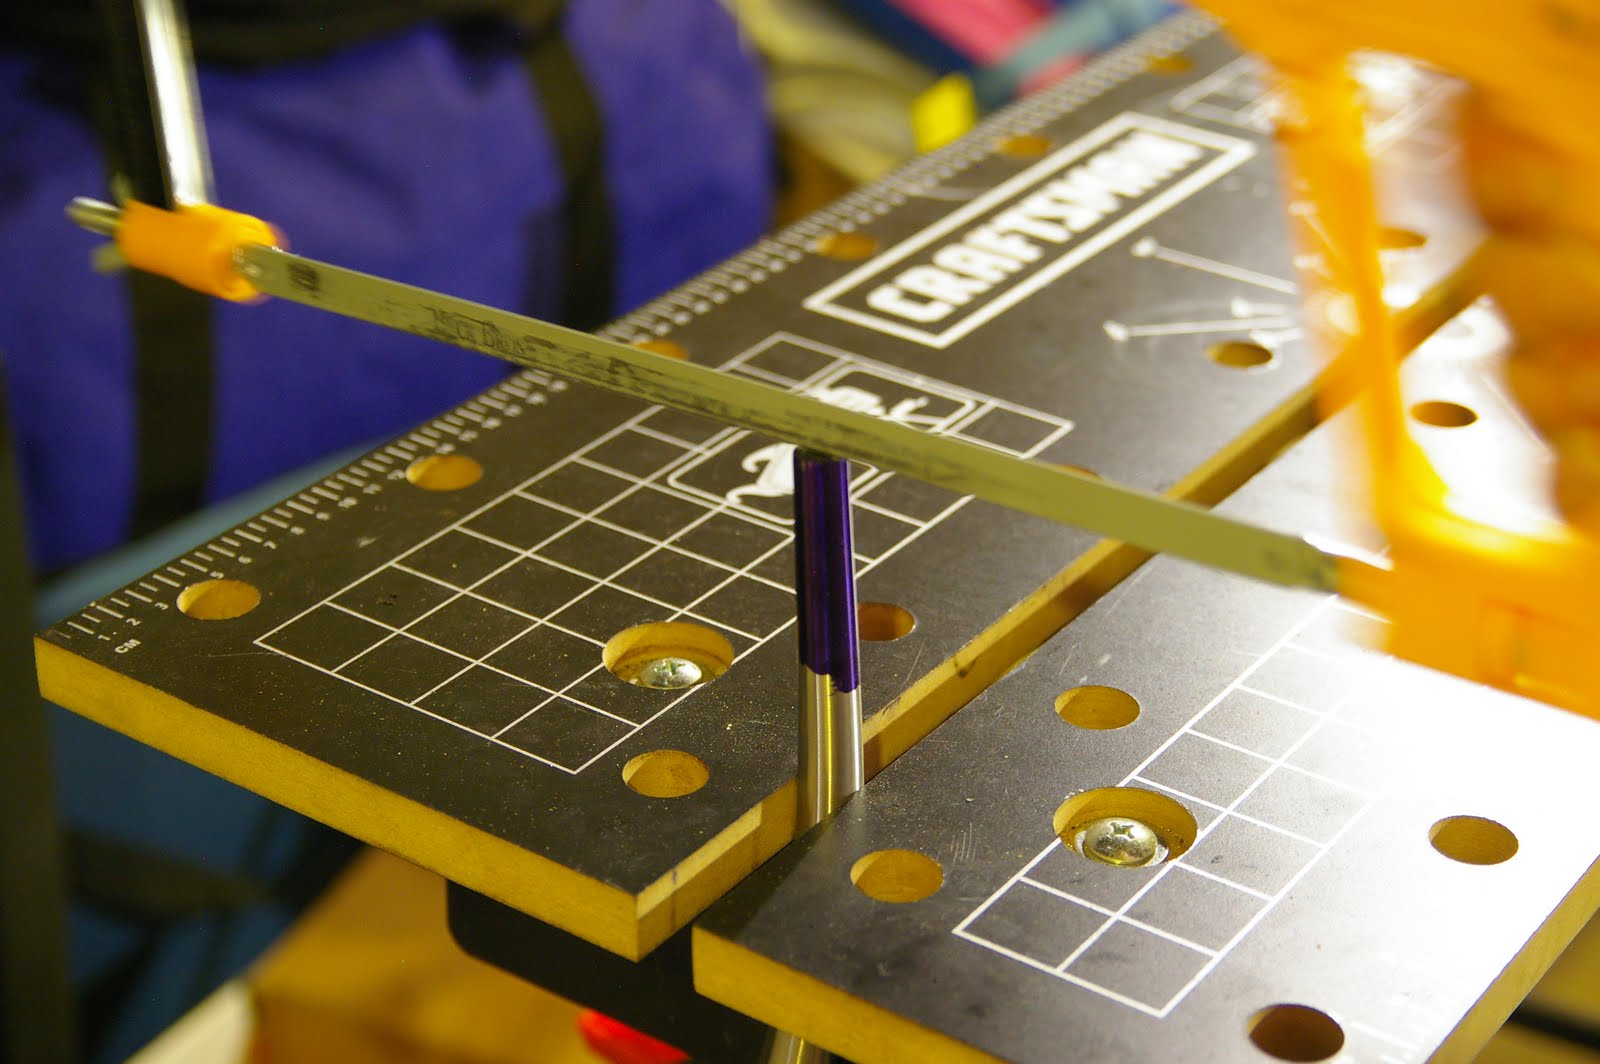
Finding a good way to clamp the fork blade was a bit of a challenge. I actually broke the pin for the crank on the right side of the work bench, so I switched over to the left side. To keep the blade from swaying, I used a ratchet clamp to hold it to the leg of the bench.

To make the initial cut, install two blades into your hacksaw. This is not strictly necessary, but it will reduce the amount of time needed for filing and provide a wider gap for the file to grab on to. Make sure the saw is tensioned well; I noticed that the two blades tend to bow against each other if the saw was not very tight. Using two hands to guide the saw blades will prevent it from wandering as you begin the cut.
The slot should be 1/2" deep to give the dropout enough fork blade to join to during the braze. This is the view after the initial saw cut:

The cut is not nearly wide enough to accept the dropout, so it must be opened further with a warding file. An eight inch flat file is slightly narrower than the width of the dropout, so file straight down the cut and then slowly open it up by applying pressure to either side.

After about an hour, I managed to file through about half the cut:

This takes a long time, so be patient. Keep checking that your slot is straight and properly aligned; if it starts to go askew, you can adjust and recover. After some work, here is the slot after the file reached the bottom of the cut:

This is not yet finished; the slot is slightly wider at the top than the bottom due to the variations in my filing stroke and none of it is wide enough to accept the dropout:

Continue to open the slot with the file. It becomes important at this point to try to keep the file moving in as straight a line as possible; this will keep the width of the slot uniform and keep it from drifting off the centerline of the fork blade. About halfway through:

And finally, the slot is wide enough to accept the whole dropout:

The dropout appears to be sticking very far out of the fork blade; I'll return to this later in the process. At this point, the slot must now be closed and filed open again. Closing and reopening the slot provides more surface area for the braze joint.
You will need a vise to close the slot. I tried many other options (including breaking a ratchet clamp and putting some dents in my workbench) before purchasing a small bench vise specifically for this purpose. It can be temporarily clamped down to the workbench surface to provide stability. Closing the slot looks something like this:

The first time I attempted this operation, one side of the slot bent more than the other, which left the slot skewed to one side. I was able to literally beat it into submission by hammering it back on the anvil half of the vise. Once again, open the slot with the hacksaw and continue with the warding file. About halfway through the second cut-and-file operation:

At this point, you can also start doming the end of the fork blade. Take the file and carefully start rounding the tip of the blade to achieve a rounded effect. I left mine relatively oblong; here is the blade after opening the slot for a second time and partially rounding the tip:

Once again, close the slot with the vise. Talbot does not mention how many iterations of this process are necessary; I found that closing the slot twice seemed to work well. Any more and the filing would start to decrease the length of the slot. After the second closing:

And the finished product, after opening the slot for a last time and finishing the doming:

The fork blade is just about ready to go - after removing the Dykem and cleaning the whole thing, it can be brazed. What about the dropout? I compared my dropouts to the ones installed in my Raleigh and noticed that the slot reached almost to the cut-out in the dropout on the Raleigh. I decided to remove the extra tab on the dropout to achieve the same effect; I also believe that removing the tab will reduce the stresses on the braze joint, since there will be less of a torquing moment on it when the wheel hits bumps in the road.
Put the dropout in the vise:

Cut the tab off the dropout and file it flat. This only takes one saw blade, so be sure to remove the second one from the hacksaw. After cutting and filing:

Perform another fit check with the fork blade and open the slot more if necessary. At this point, you're ready to braze the dropout into the fork blade.
Here's a photo of my setup as a whole:

And to conclude for the day, a comparison of the previously completed fork blade (top) and the one that is ready for brazing (bottom):

Next up: brass brazing with a dinky hand torch!
Hi, I just found your site and I think it's cool you are building your own bike. I'd like to build my own as well, but I have ) skills and space for it. I think it's cool you're actually doing it and documenting the progress (with nice photos and good info I might add)
ReplyDeleteBest of luck to you and hope it goes well!
That was supposed to say 0 skills. :)
ReplyDelete